REVIVING THE GLORY: TRIM
- Greg Raymond

- Dec 1, 2024
- 2 min read
Updated: Apr 24
"A Tribute to Jim Wangers' 1964 GTO 'Test Car' built for Car and Driver March 1964"
CHAPTER 17 Greg Raymond
With the Blue Car out of the paint booth and deep into assembly, it was finally time to turn our attention to the trim. After more than 60 years, the typical deterioration of pot‑metal and aluminum components was everywhere. Fortunately, repainting Pontiac taillight panels and the fuel‑filler door trim is a process I’ve come to enjoy, almost a ritual at this point, having done it on several previous builds.
After a thorough cleaning in the parts washer, the pieces were stripped down to their bare chrome‑plated pot metal. From there, the magic happens with a 10 ml ink‑filling syringe, a blunt‑tip needle, and Testors enamel paint. It’s one of those wonderfully meditative restoration tasks where patience pays off in a big way. The key is to treat the trim like miniature model‑car detailing: clean the grooves meticulously, lay down a smooth base, then load the smallest bead of enamel onto the needle.

You don’t brush the paint, you flow it into the recessed lines, letting surface tension do the work. The result is razor‑sharp edges, factory‑correct contrast, and a level of precision no traditional brush can match. It’s slow, steady work, but when those blacked‑out lines and Marimba Red accents snap against fresh chrome, the pieces look like they rolled straight out of Pontiac’s design studio.
Fuel Door & Taillight Housings
The transformation is dramatic. The fuel door and taillight housings went from tired, faded castings to crisp, jewel‑like components ready for installation.


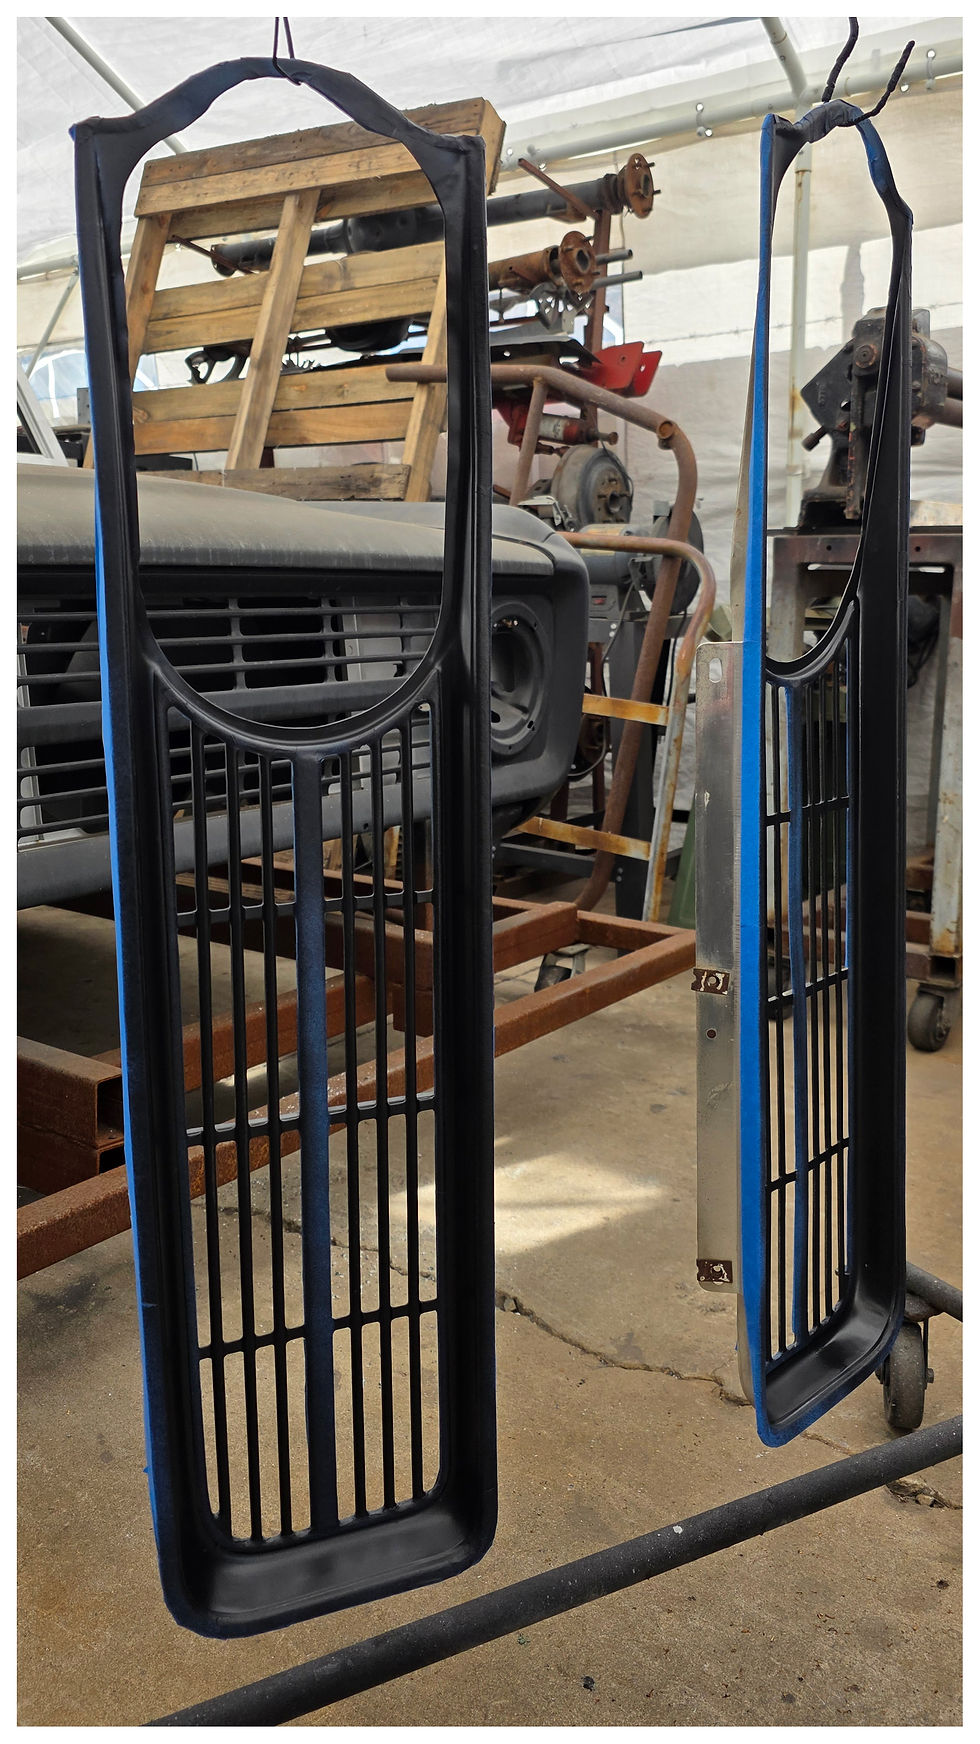
Front Grilles: A Different Challenge
The front grilles required a completely different approach. Stamped aluminum and anodized from the factory, they had to be cleaned carefully to avoid polishing through the anodized surface. Once prepped, we painstakingly masked the polished areas with blue painter’s tape—an exercise in patience all its own.
With everything protected, we applied SEM black trim paint to restore the factory‑correct finish. The contrast between the polished aluminum and the deep black recesses brought the grilles back to life in a way only proper restoration can.


Comments